Start with a working restaurant
New dishes bring customers in, comfortable tables improve their visits, and fulfilled requests give them reasons to return. Connecting those systems is how you grow Baratie Number Two and challenge the impostor restaurant damaging Baratie’s reputation. Begin with a functioning dining room, then let customer needs guide your next improvement.
You play a rookie staff member working alongside Luffy and Sanji. Your restaurant travels between sea areas, bringing new customers, ingredients, and opportunities into reach.
Follow this opening sequence:
- Create a main dish through Shop > New Dish.
- Use Build to place the three tables required during the opening setup.
- Select Action > Relocate and choose an available destination.
- Check arriving customers for food and facility wishes.
- Explore for ingredients, then return to develop dishes that address those wishes.
When progress slows, identify the missing link before spending more money.
| Problem | Useful next step |
|---|---|
| Few dishes available | Explore for ingredients and check characters with cooking ideas. |
| Customers want something unavailable | Review their requests and work toward the relevant dish or facility. |
| Limited menu capacity | Build additional meal stands. |
| Unclear progression objective | Check the current Sea Area Goals. |
Sea Area Goals provide direction when several systems compete for attention. Use their conditions to choose a manageable objective, such as improving your menu or preparing the restaurant for another stage of the journey.
Build dishes and meal sets that sell
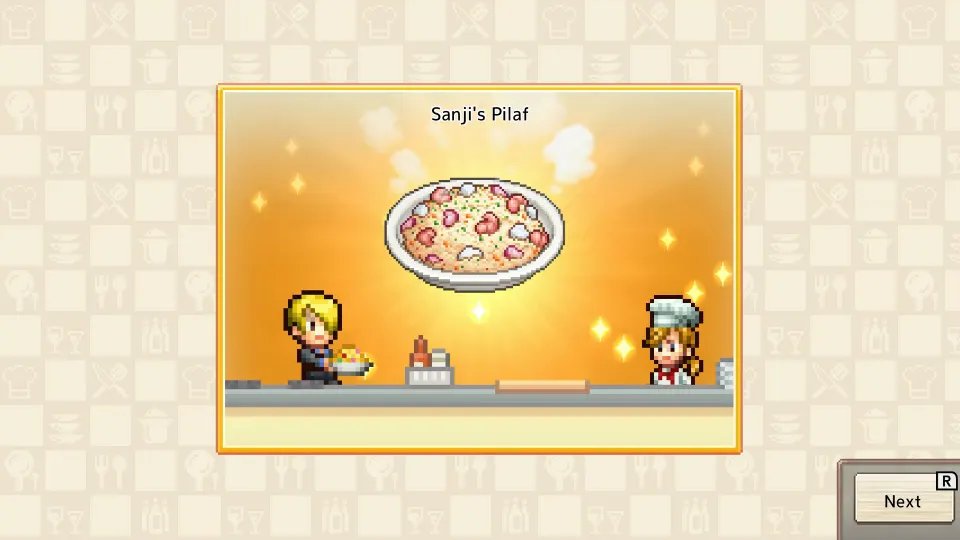
Dish development begins in Shop > New Dish. Choose a character with an idea, select the available dish category, add ingredients, and choose tableware. Some ingredient selections offer multiple possible results. After a crew member appraises the finished dish, it becomes available for your menu.
Characters and ingredients both matter. Having suitable ingredients does not guarantee that every recipe idea is available, so revisit cooking options as you meet people.
These examples show how recipe items, ingredients, and idea providers fit together:
| Dish | Recipe item | Ingredient | Idea provider |
|---|---|---|---|
| Beef Bowl | Main Dish Recipe | Chunk of Meat | Dadan |
| 10-Year-Aged Cheese | Side Dish Recipe | Eggs and Milk Ingredients | Tonjit |
| Apple Juice | Drink Recipe | Fruit Platter | Sanji |
| Banana Dessert | Dessert Recipe | Fruit Platter | Kuro |
The idea provider identifies who inspires a recipe. When assembling meal sets, separately check the dish’s Straw Hat endorsement, since matching endorsements provides a pricing bonus.
Select a main dish from your menu to combine it with other dishes. Sets can include a main, side dish, dessert, and drink. Check these options when improving a set:
- Matching endorsements: Combining dishes endorsed by the same Straw Hat increases the set price.
- Compatible pairings: Certain mains work with particular sides and drinks for additional combo bonuses.
- Meal decorations: Cutlery and figures can affect price or tastiness once the feature becomes available.
- Cooking enhancement: Robin and Sanji can use ingredients to improve dishes.
Dishes gain levels after enough servings sell. Keep useful dishes in circulation while developing alternatives for customer requests. Later, automatic meal assembly helps create sets according to your chosen specifications.
The Buffet Corner unlocks through one of Luffy’s requests and serves dishes individually. Its stock can run out, so check replenishment after adding buffet service.
Explore, reunite the crew, and train
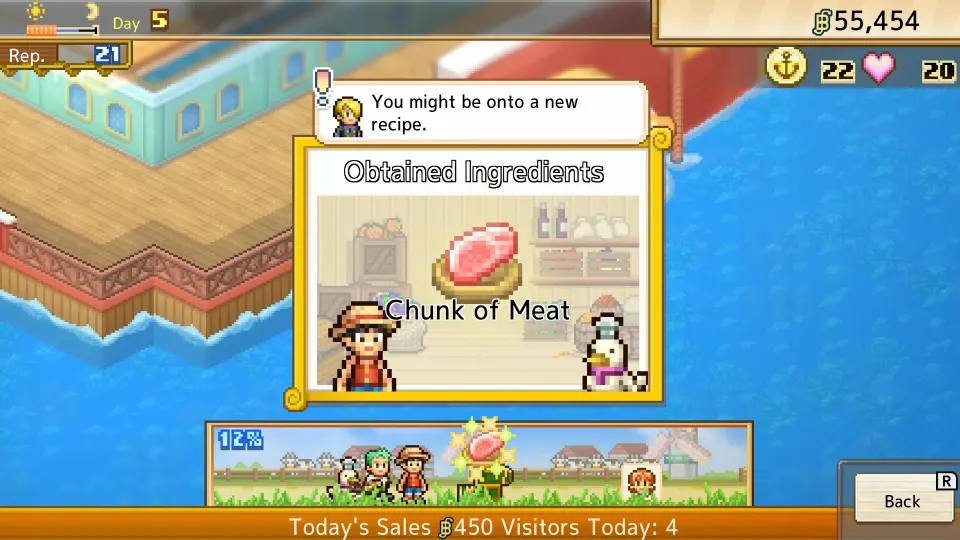
Use Action > Explore to send Luffy to destinations such as Windmill Village and Goat Island. Exploration supplies ingredients and can also bring back treasure, gifts, and new visitors. Advancing exploration opens additional locations, expanding the resources available to your kitchen.
Find the missing Straw Hats by placing their posters and collecting sighting information. After recruiting them, build their break rooms to access additional functions. Their specialties cover much more than ordinary restaurant service.
| Crew member | Main contribution |
|---|---|
| Luffy | Hunts treasure; collected items can be claimed from his break room. |
| Zoro | Unlocks Training and can also hunt treasure. |
| Nami | Buys and sells items, including ingredients through her break room. |
| Usopp | Produces meal decorations at the Usopp Factory. |
| Sanji | Cooks and helps enhance dishes. |
| Chopper | Treats sick or injured characters and interacts with animals. |
| Robin | Uses ingredients to enhance dishes. |
| Franky | Builds facilities and expands the restaurant. |
| Brook | Provides mini-games and concerts that attract tourists. |
| Jinbe | Brings customers who are not yet fans from other sea areas. |
Finding Nami unlocks the Going Merry, which allows a crew member to accompany exploration trips. Companions provide benefits such as increased item acquisition. The Thousand Sunny later reduces the expense of long-distance exploration.
Zoro’s break room unlocks Training. Regular training uses Training Points earned through exploration and work, while Joint Training consumes Hearts. Some exploration rewards require particular crew members or sufficient levels, making training useful when an outing presents a specific requirement.
Check those requirements before choosing who to improve. A relevant crew upgrade can help secure the next reward, while indiscriminate Joint Training can leave too few Hearts for outings or requests.
Improve comfort and earn returning customers
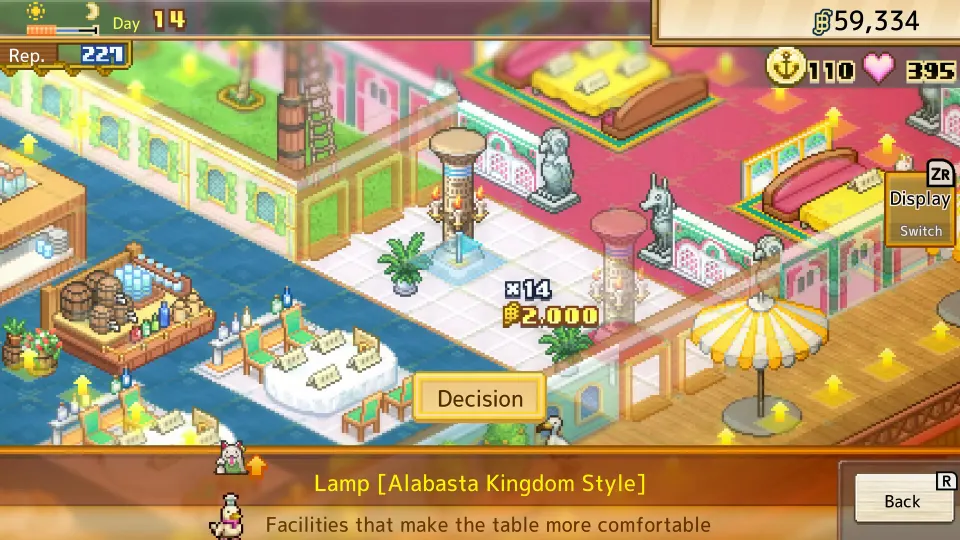
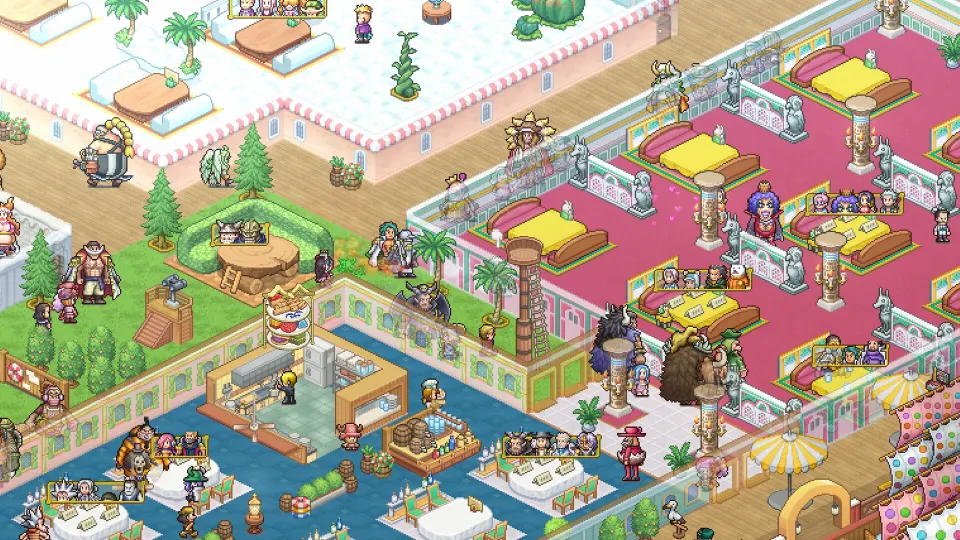
Tables provide dining space, while nearby furniture and decorations improve Comfort. As Comfort rises, tables can change appearance and gain remote ordering. Facilities also generate sales and Affection when customers use them, so your dining room supports growth beyond the food menu.
Use decorations and flooring to shape the surroundings of your tables. Franky’s break room expands your building options. If space becomes restrictive, ask Franky to enlarge the restaurant; expansion also requires enough helpers to clear the surrounding trash.
Customer development involves several connected systems. Eating and using facilities increases Affection. Requests give you specific dishes or facilities to provide, helping turn visitors into fans. Review these through Management > Everyone’s Requests instead of relying on the information shown during a customer’s arrival.
For each visitor you want to retain:
- Read their food and facility wishes.
- Add the relevant dish or build the requested facility.
- Improve Comfort around their dining area.
- Give suitable gifts to increase attributes such as movement speed or eating capacity.
- Check progress toward becoming a fan.
Customers from the current sea area normally visit once per day. After you obtain a Fan Ship, fans can travel to your restaurant from distant areas. This makes customer loyalty valuable when relocating.
Tourists behave differently: they use facilities and buy souvenirs without occupying dining tables. Brook’s concerts can increase tourist numbers. Customers with sufficiently high Affection can also become staff; kitchen assignments require cooking ability, while floor staff deliver prepared food.
Spend resources on your next bottleneck
Growth adds expenses as well as income. Staff, shops, and buffets carry daily operating costs, so judge an upgrade by the problem it solves and the ongoing expense it introduces.
| Resource | Main uses | Practical spending approach |
|---|---|---|
| Berries | Construction, operating expenses, and some outings | Leave room in the budget for daily costs. |
| Hearts | Certain outings, customer requests, and Joint Training | Cover immediate progression needs before optional training. |
| Training Points | Crew training | Improve members needed for upcoming exploration requirements. |
| Ingredients | New dishes and cooking enhancement | Develop needed recipes before spending leftovers on upgrades. |
Choose the next purchase around a visible obstacle. More meal stands help when menu capacity is restrictive. A requested facility can help win over a customer. Training addresses crew requirements, while exploration replenishes the ingredients needed to develop food.
Expansion is useful when the restaurant lacks space, but check its requirements before planning a major rearrangement. Likewise, adding staff makes the most sense when their work supports your current service needs and you can cover their payroll.
FAQ
Where should I start with this one piece grand gourmet guide?
Make a main dish, place the opening tables, and relocate to begin service. Then check customer requests and Sea Area Goals. Those objectives help you choose between exploring, developing another dish, improving facilities, or finding crew members.
Why can’t I make the dish a customer wants?
Dish development depends on the relevant idea provider and ingredients. Check Shop > New Dish, continue meeting characters, and explore for additional supplies. A request tells you what a customer wants, but it does not automatically unlock that recipe.
How do I increase meal-set prices?
Match dishes carrying the same Straw Hat endorsement, then check for compatible mains, sides, and drinks. Decorations can also influence price or tastiness. Compare the displayed results when adjusting a set, since different combinations provide different benefits.
Why aren’t my fans following me to another sea area?
Distant fan visits require a Fan Ship. Before that transport becomes available, becoming a fan alone does not establish the travel connection. Continue working through progression objectives and customer requests while developing your local customer base.
Should I use Hearts to train everyone immediately?
Keep enough Hearts for current outings and requests first. Joint Training competes with those activities for the same resource. Use regular training when you have Training Points, and target upgrades that help meet an exploration requirement or another immediate objective.